What is EBS?
EBS, or Elastic Block Storage, is a network drive that can be attached to an EC2 Instance. By storing data on EBS, it’s possible to keep data that would otherwise be lost if the instance it was stored on was terminated. There are exceptions to the rule, but generally, EBS volumes are only attached to one instance. EBS volumes are provisioned with capacity and throughput.

Notice a few items in the figure above:
- More than one volume can be attached to a single instance.
- A volume can exist without being attached to any instance.
- EBS volumes are availability zone specific. It’s possible to migrate the data between AZs via snapshots, but a volume can’t be attached to an instance in a different AZ.
EBS Key Takeaways
- EBS Volumes can be created on their own, be attached to an EC2 instance, or multiple EC2 instances via EBS Multi-Attach.
- EBS Volumes come in 6 variations - gp2, gp3, io1, io2, st1, and sc1. Each type has been optimized for specific use cases and is prices accordingly.
- Users can specify the amount of storage, the throughput, and a few other parameters of an EBS Volume. It’s important to keep in mind that certain families will have constraints for those parameters.
- EBS Volumes are created in a specific Availability Zone. However, AWS provides tools that allow the user to create a backup and restore a different volume in a separate Availability Zone.
EBS - Delete on Termination
When you specify and deploy a new EC2 Instance, you’ll have to configure the volume that will be attached to it. Once of the options is “Delete on Termination.” This option, as the name suggests, will result in the deletion of the volume as soon as the EC2 instance is terminated. Should you choose not to select this option, the volume will continue to exist in AWS after the EC2 instance has been terminated. At that point, it’s possible to attach this volume to another EC2 instance within the same availability zone, or to create a backup that can then be transferred over.
Here are the steps to verify which option has been selected for a specific volume.
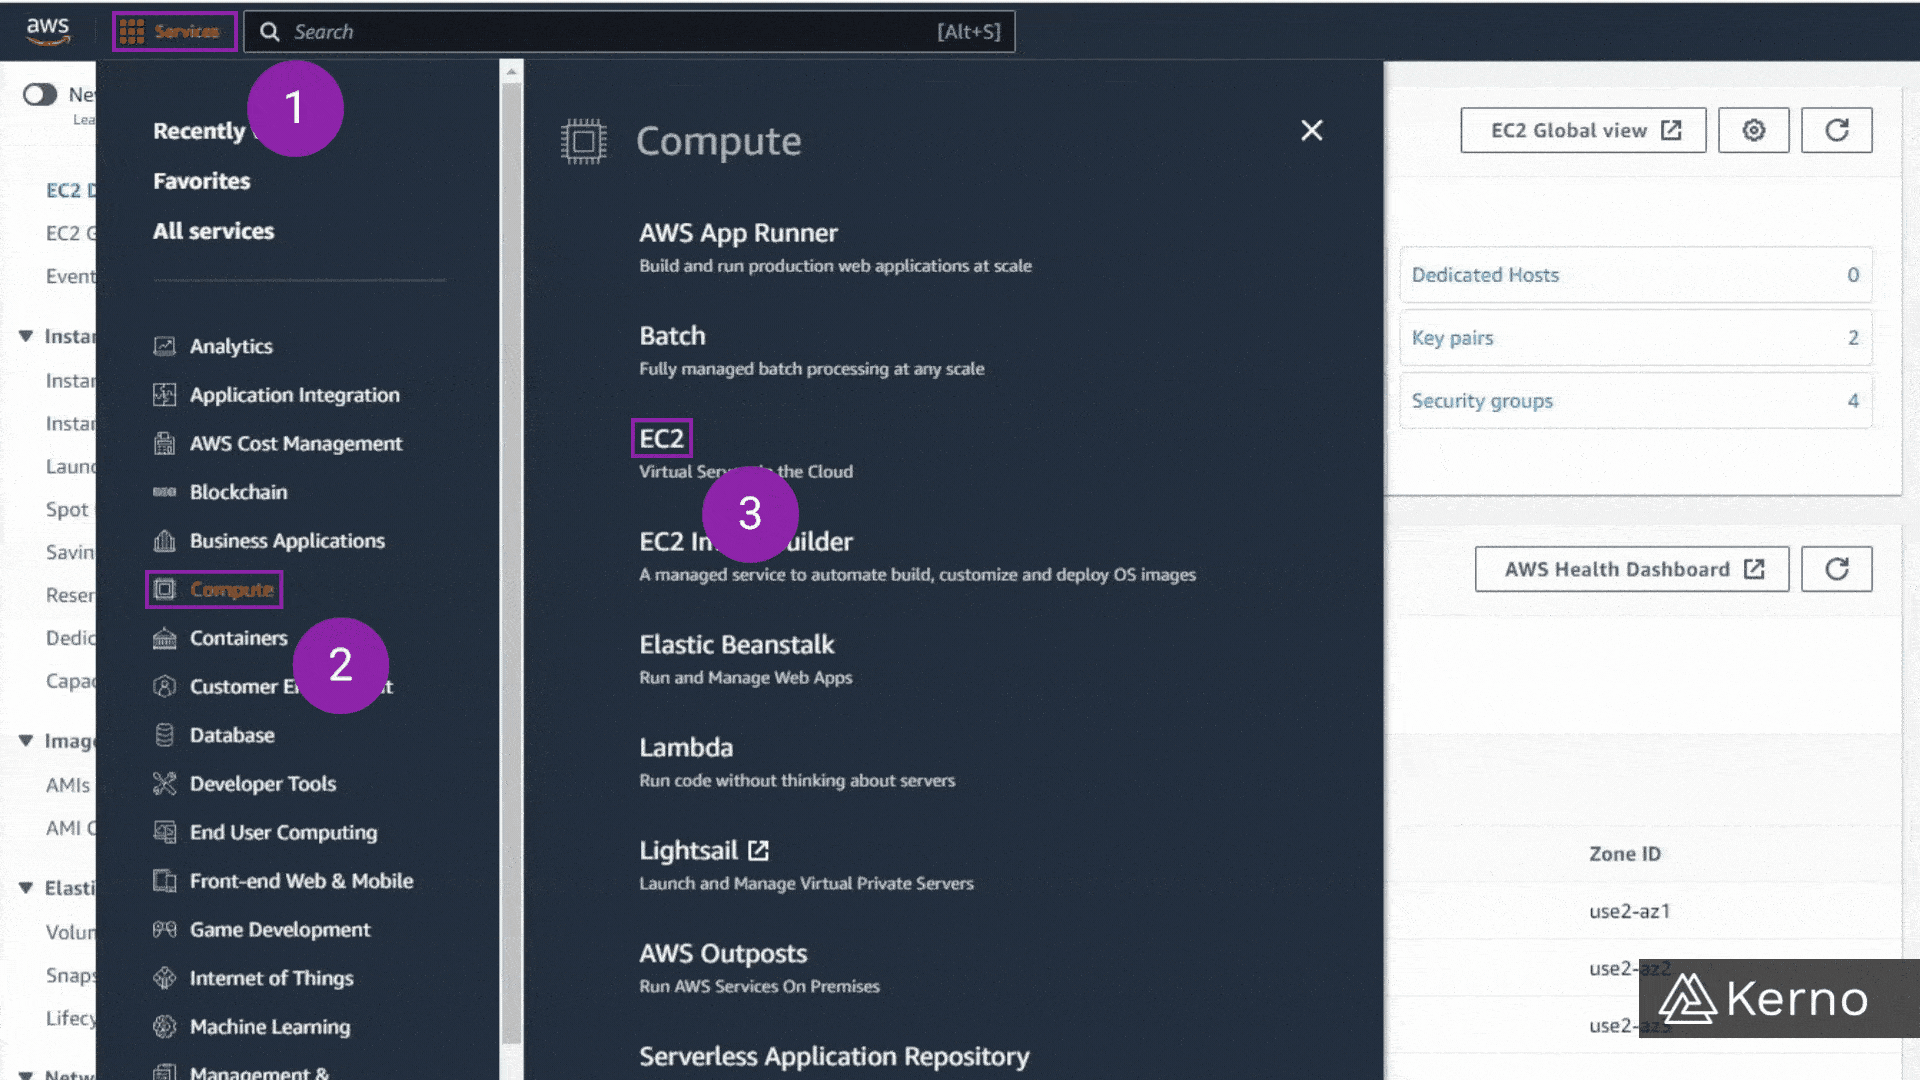
Step 1 - Navigate to the EC2 Console
1.1 - From the AWS Console, click on “Services.”
1.2 - From the drop-down menu, click on “Compute.”
1.3 - From the side menu, click on “EC2.”
You should now be on the EC2 Console.
Step 2 - Navigate to the EC2 Instance Settings
2.1 - From the EC2 Dashboard, click on “Instances.”
2.2 - From the list of instances, choose the desired instance, click on “✔️.”
2.3 - From the bottom tabs, click on “Storage.”
2.4 - Scroll to the right , view the “Delete on termination” option.
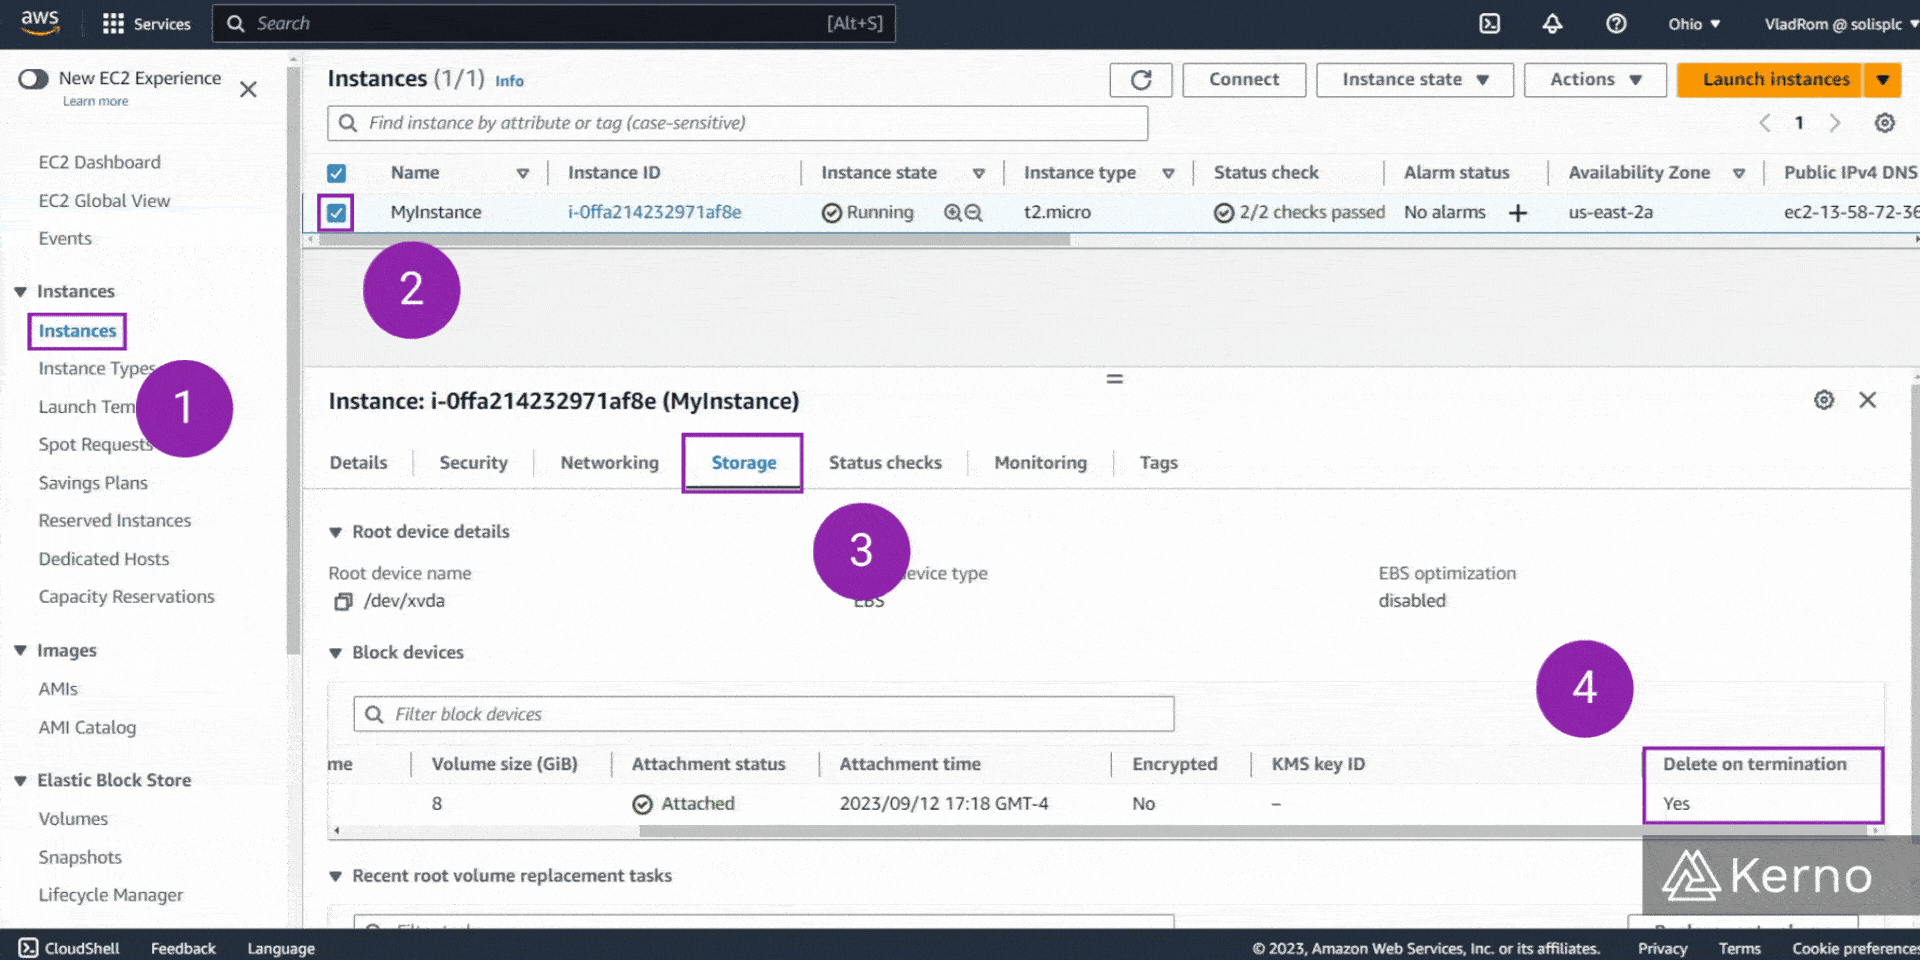
You will notice that the setting will be set to “Yes” / “No” letting the user know if the volume will be deleted as the instance is terminated or not.
Creating EBS Volumes
As mentioned above, you can create an EBS volume during the process of creating an EC2 instance. However, you may choose to create a standalone EBS volume and attach it to a running EC2 instance. In this section, we’ll walk you through the process of creating a standalone EBS volume.
Step 1 - EBS Volumes Section & Create Volume
1.1 - From the EC2 Dashboard, click on “Volumes.”
1.2 - From the top menu, click on “Create Volume.”
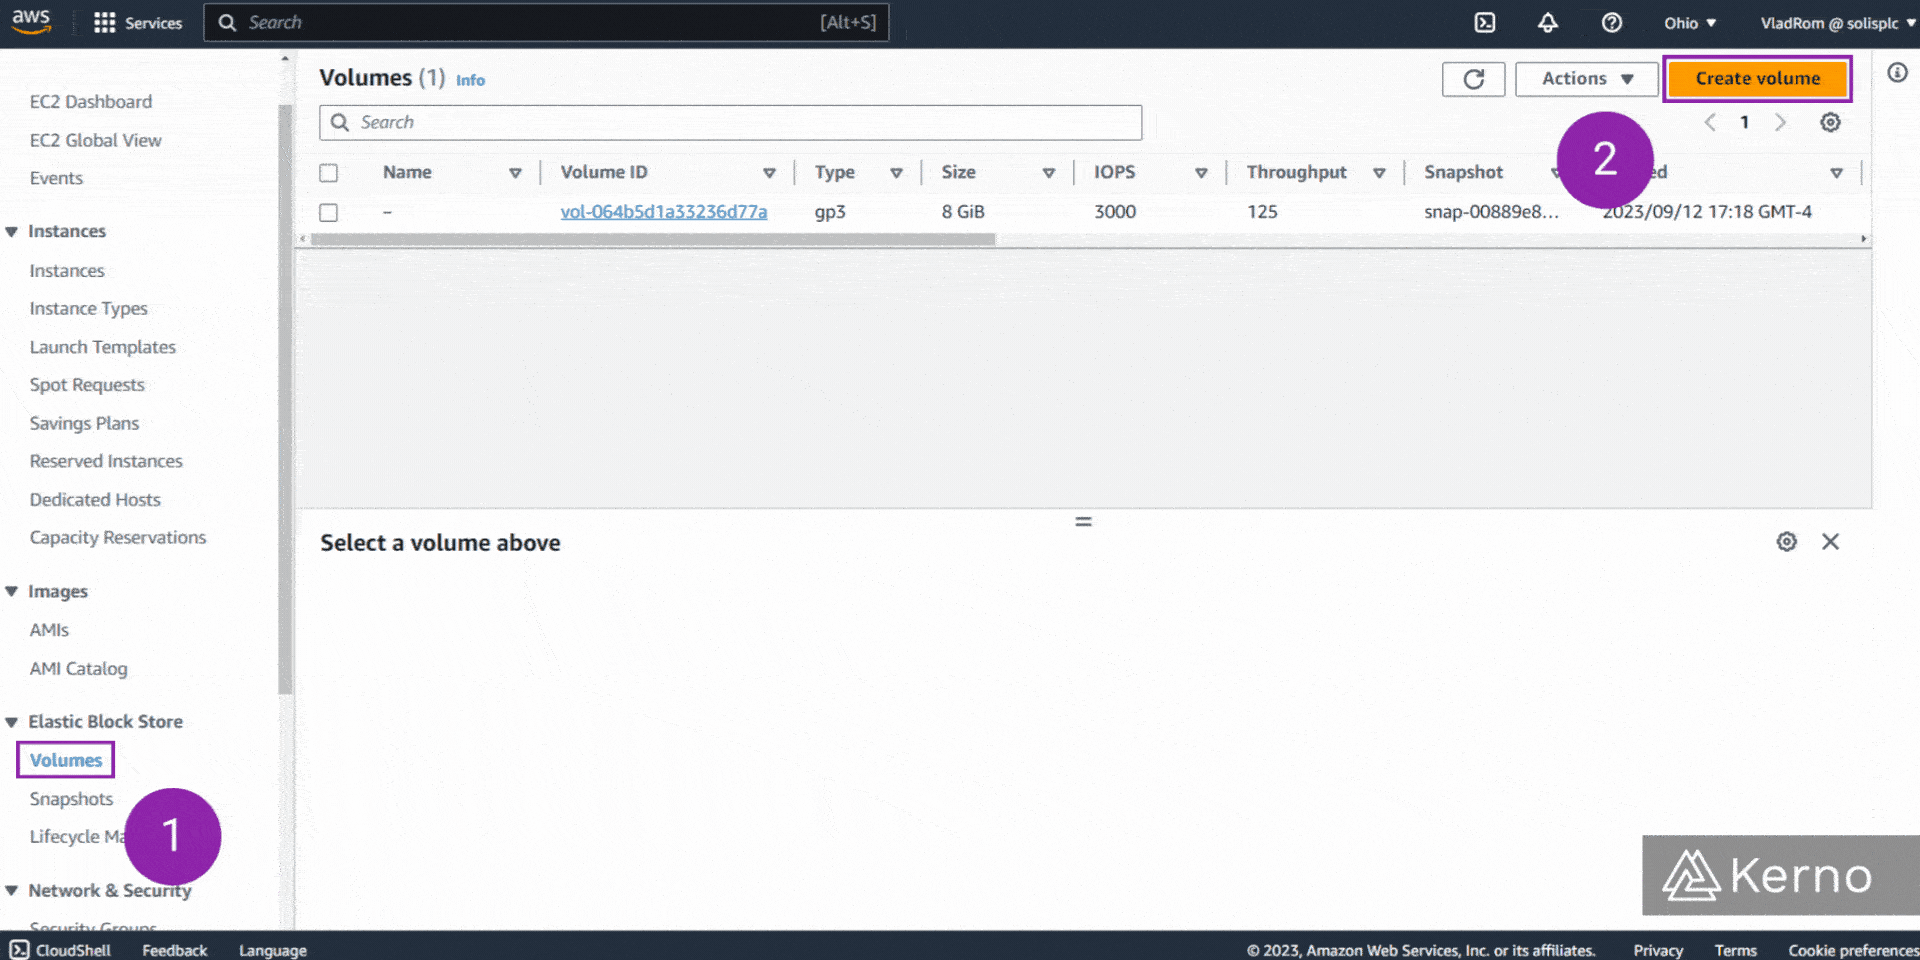
You should now be brought to a new tab in which you can specify the details of the volume.
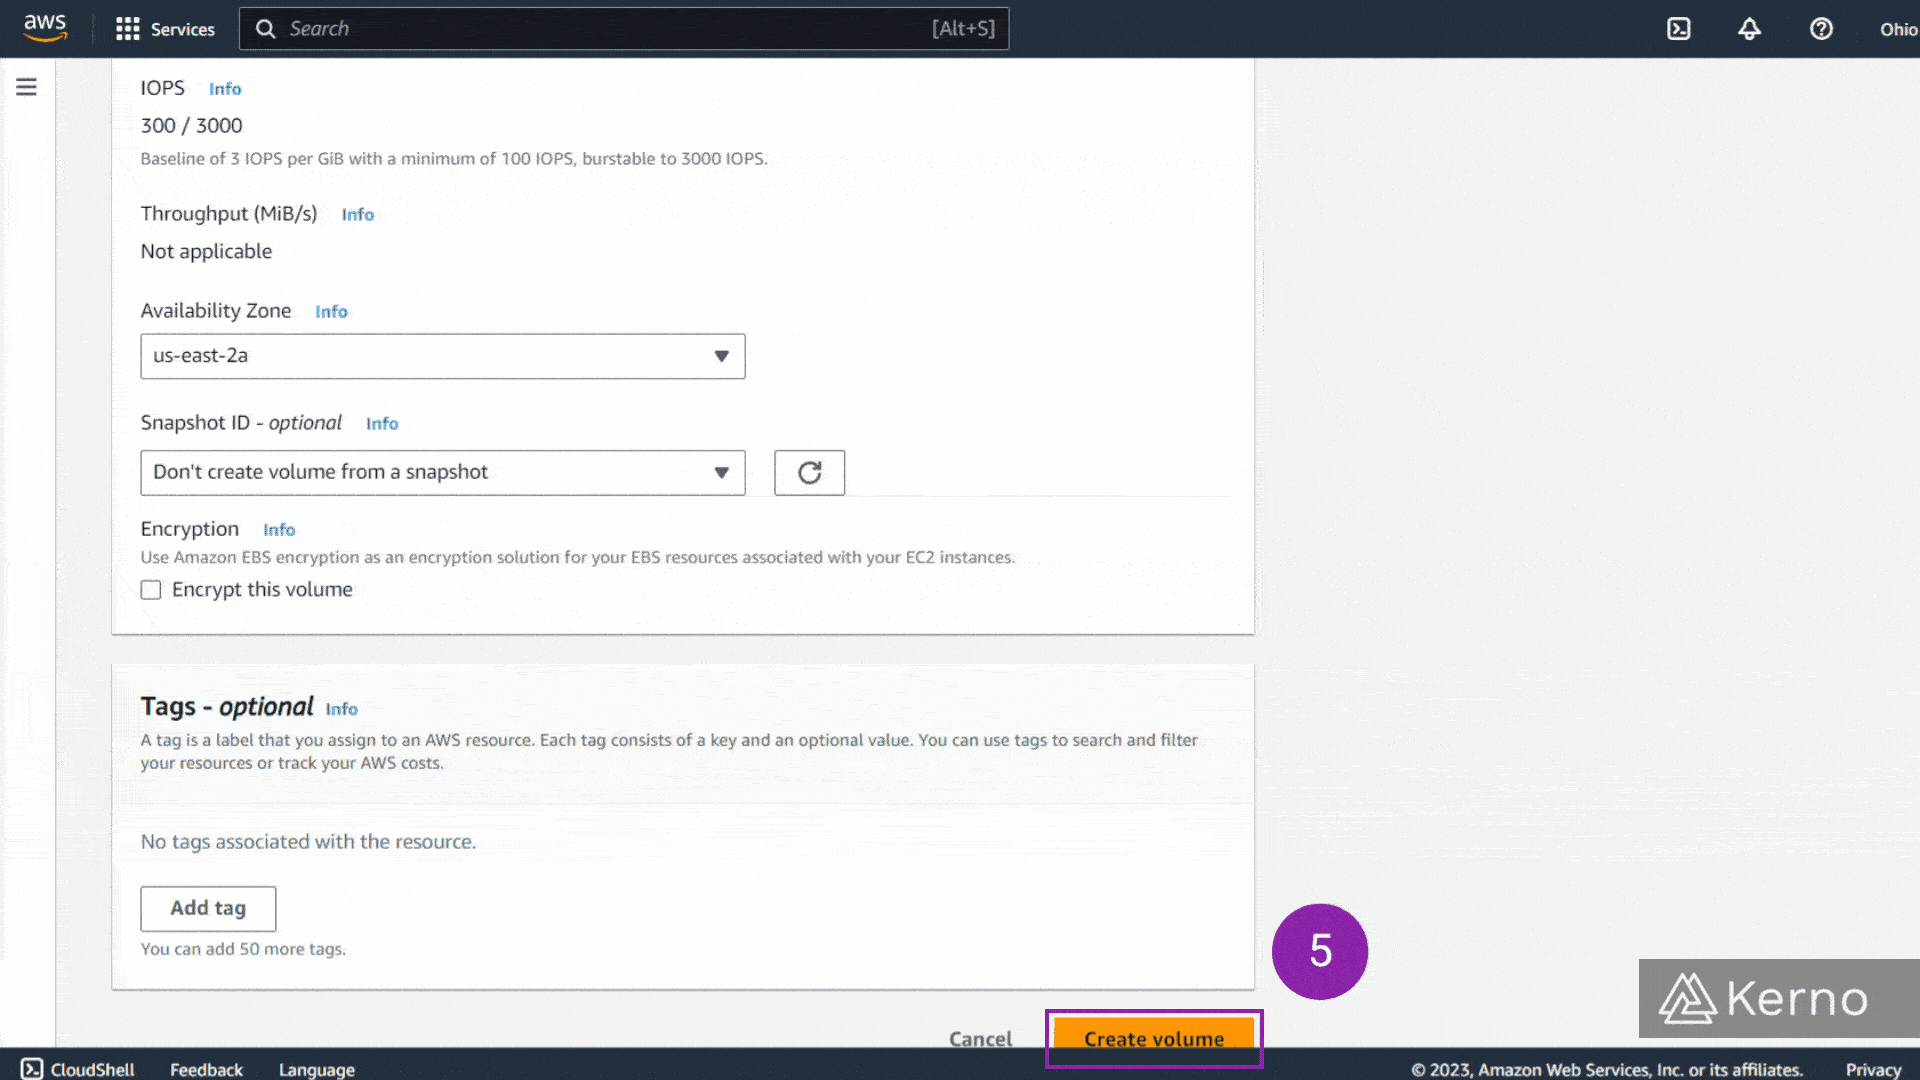
Step 2 - Configure EBS Volume Parameters & Launch
2.1 - From the Volume Settings section, choose a “Volume Type.”
2.2 - From the Volume Settings section, choose a “Size.”
2.3 - From the Volume Settings section, choose a “Throughput / IOPS.”
2.4 - From the Volume Settings section, choose a “Availability Zone.”
Note: Different volume types will unlock different options. Ex: the gp2 volume will have a set IOPS while others allow the user to specify what they need.
Note: Availability Zone is important. As mentioned above, you can only connect the volume to an EC2 instance in the same AZ. If you’ve made a mistake here, you’ll have to re-create the volume.
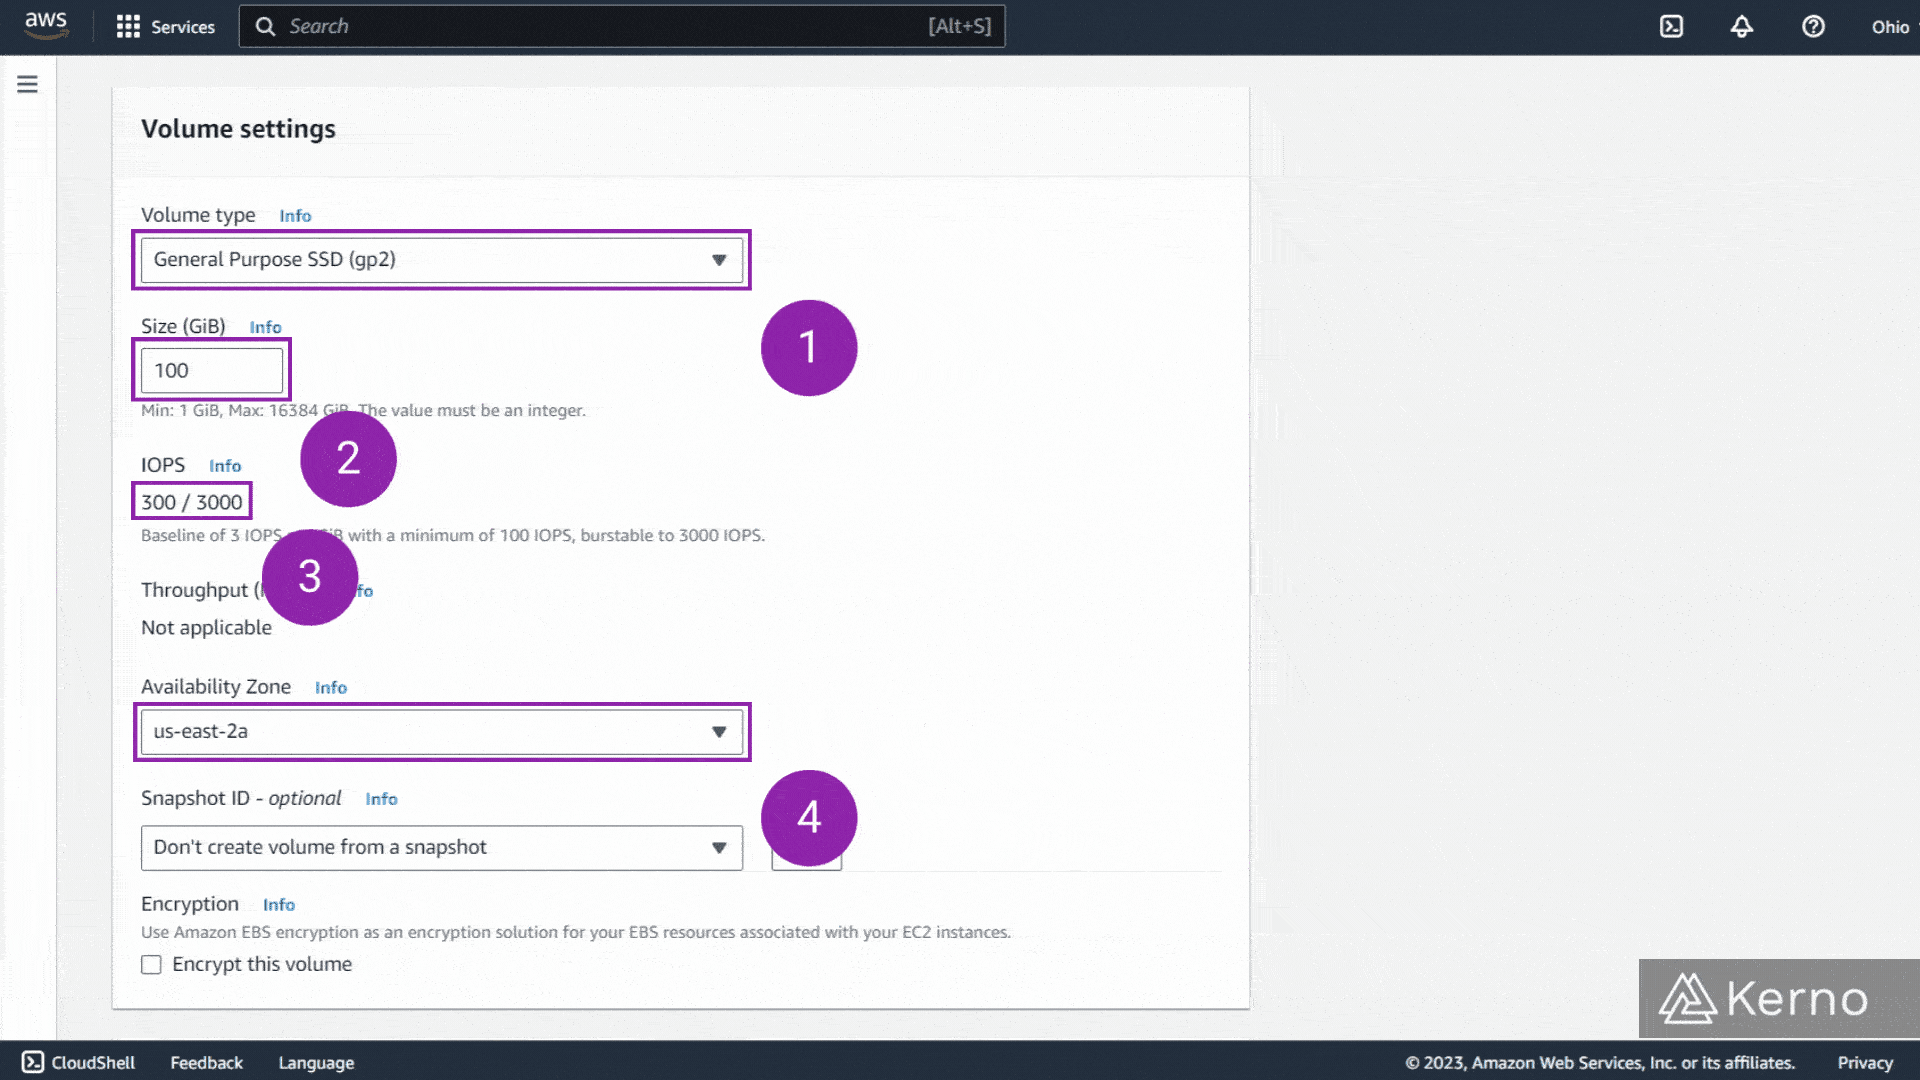
2.5 - At the bottom of the page, click on “Create volume.”
EBS Volume Snapshot / Restore
A volume snapshot is a backup of a specific volume. The snapshot will store the data at the time of inception. In other words, if any changes are made to the EBS volume after the snapshot has been taken, those changes will not be captured by the snapshot..
It is recommended to detach a volume before creating a snapshot. However, it’s not a necessity.
Key EBS Snapshot Features
EBS Snapshot Archive
- Relocated an EBS Snapshot into an archive.
- Restoring an archived EBS Snapshot will take between 24 to 72 hours.
- Save 75% on the cost of the EBS Snapshot.
EBS Snapshot Recycle Bin
- Create rules that retain deleted EBS Snapshots and allow them to be recovered if needed.
- Specify retention periods from 1 day to 1 year.
EBS Snapshot Fast Snapshot Restore [FSR]
- Force EBS Snapshots to be usable immediately and without latency.
