
In certain scenarios, you may want to reverse the changes you’ve made to your code and uncommit in Git. Git is a version control tool that keeps track of code changes, is extremely popular in software development, and is utilized by software engineers and industries across the globe to ensure they’re on top of delivering software into complex applications. As one can imagine, mistakes happen, and in various situations, a software engineer needs to uncommit the changes they’ve pushed into Git. In this article, we will explore some of the ways one can make that happen and ensure the least disruption to development operations.
Key Approaches to Uncommit in Git
- Reverse All Actions, Including Reverting Your Edits and Restoring Your Files to the Previous Commit
- Undo the Commit, but Keep All the Changes and Staging As Is
- Undo the Commit, but Keep All the Changes As Is
- Push a “Counter Commit” that Removes All Changes You’ve Previously Made
- Reverse the Changes Made In Multiple Commits
Uncommit in Git - Reverse All Actions, Including Reverting Your Edits and Restoring Your Files to the Previous Commit
Imagine a scenario in which you’ve committed code and realized that you’ve made a mistake, don’t feel confident about the commit, and decide that you need to start over. In this case, your goal is to discard all changes, undo the commit, and reset all your files to the previous commit. Note that this will irreversibly delete all the code you wrote as part of your commit.
If you’re committed to reverse your commit and restore all files to the previous commit, issue the following command:
Uncommit in Git Walkthrough #1
Let’s look at an example of how this is done, the steps you’ll typically go through, and understand the repercussions of running each command.
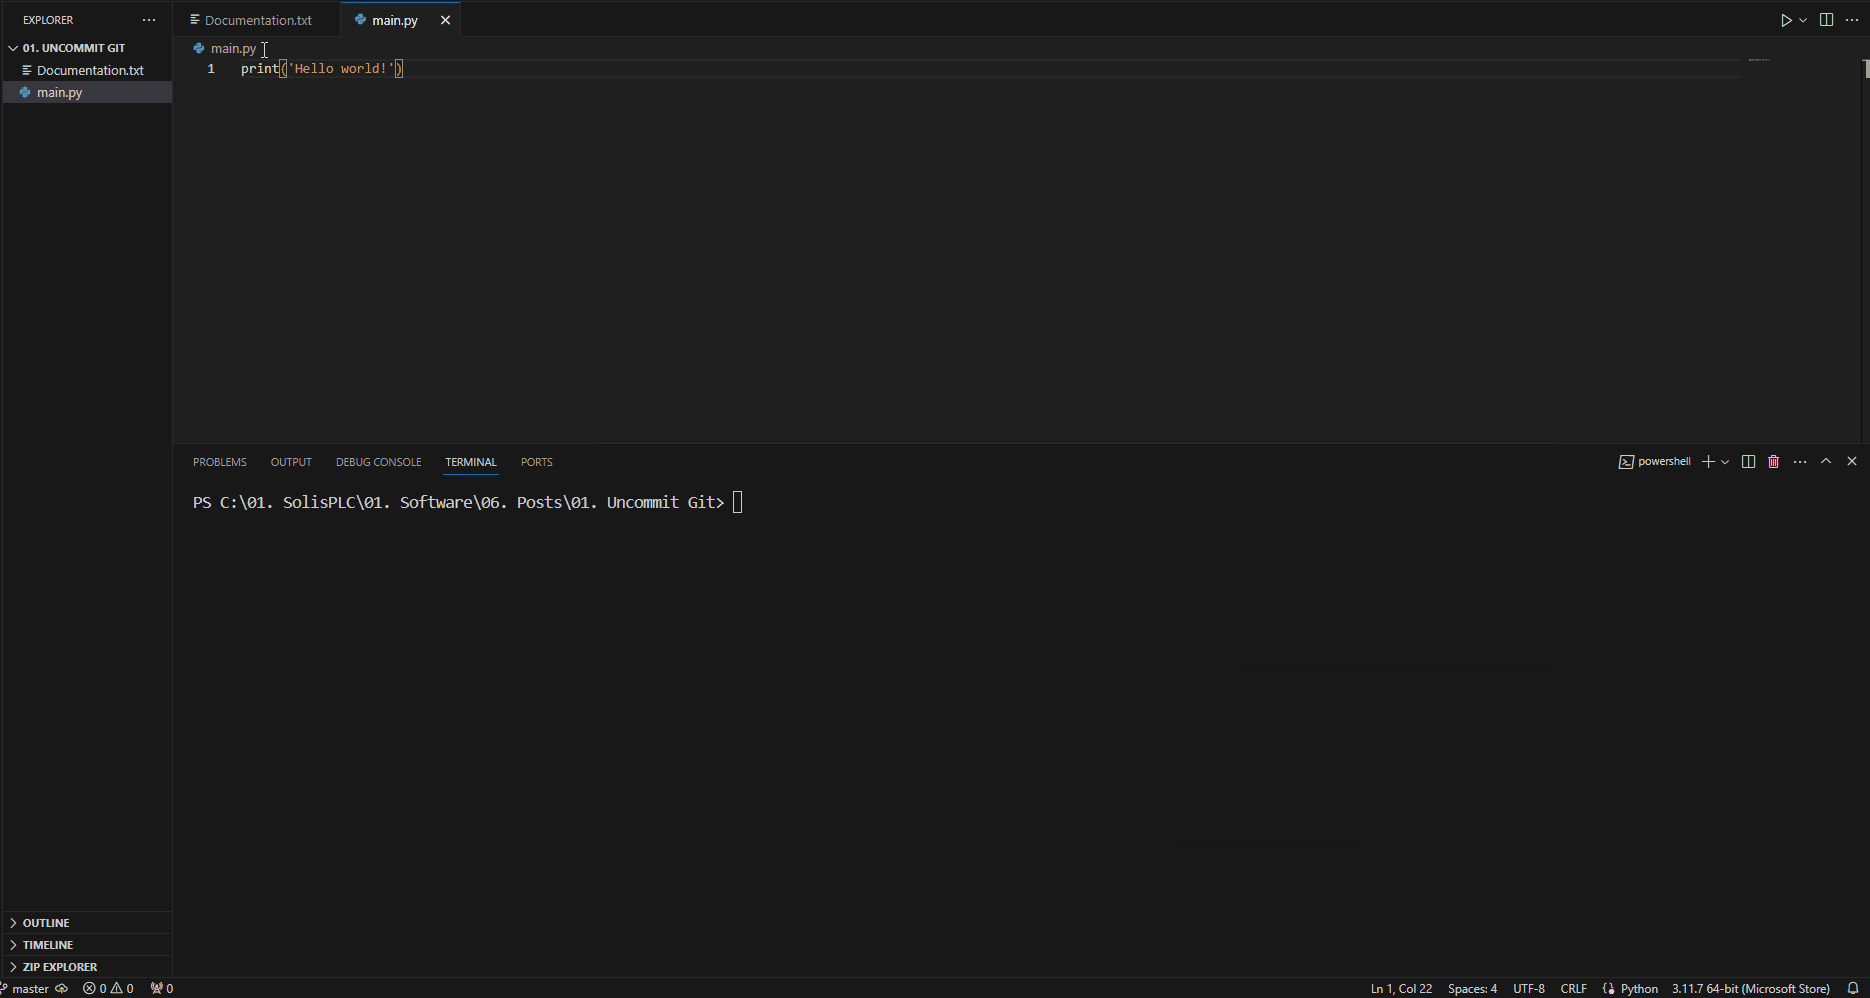
Step 1 - Add files to the commit
Typically, you’ll make changes to multiple files as you’re working on your code. The first steps is to save those changes locally. Once you’ve saved the changes you made, you’ll need to add those files to your commit using the following command:
In the example above, we’ve made changes to two files - Documentation.txt and main.py. We’ve thus added both files to the commit.
Step 2 - Create the first commit
Before you issue the “git reset --hard HEAD~1” command, you’ll need to ensure you have a commit you’ll reset to. Therefore, the second step is creating a commit for resetting the system. Note that in most instances, you’ll already have this in place. We’re using a new git repository to drive this point home, and we will get an error if we don’t create this initial commit. Issue the following command to commit the changes we’ve tracked in the previous files:
It’s important to note that you’ll get a confirmation message indicating that the commit was successful.
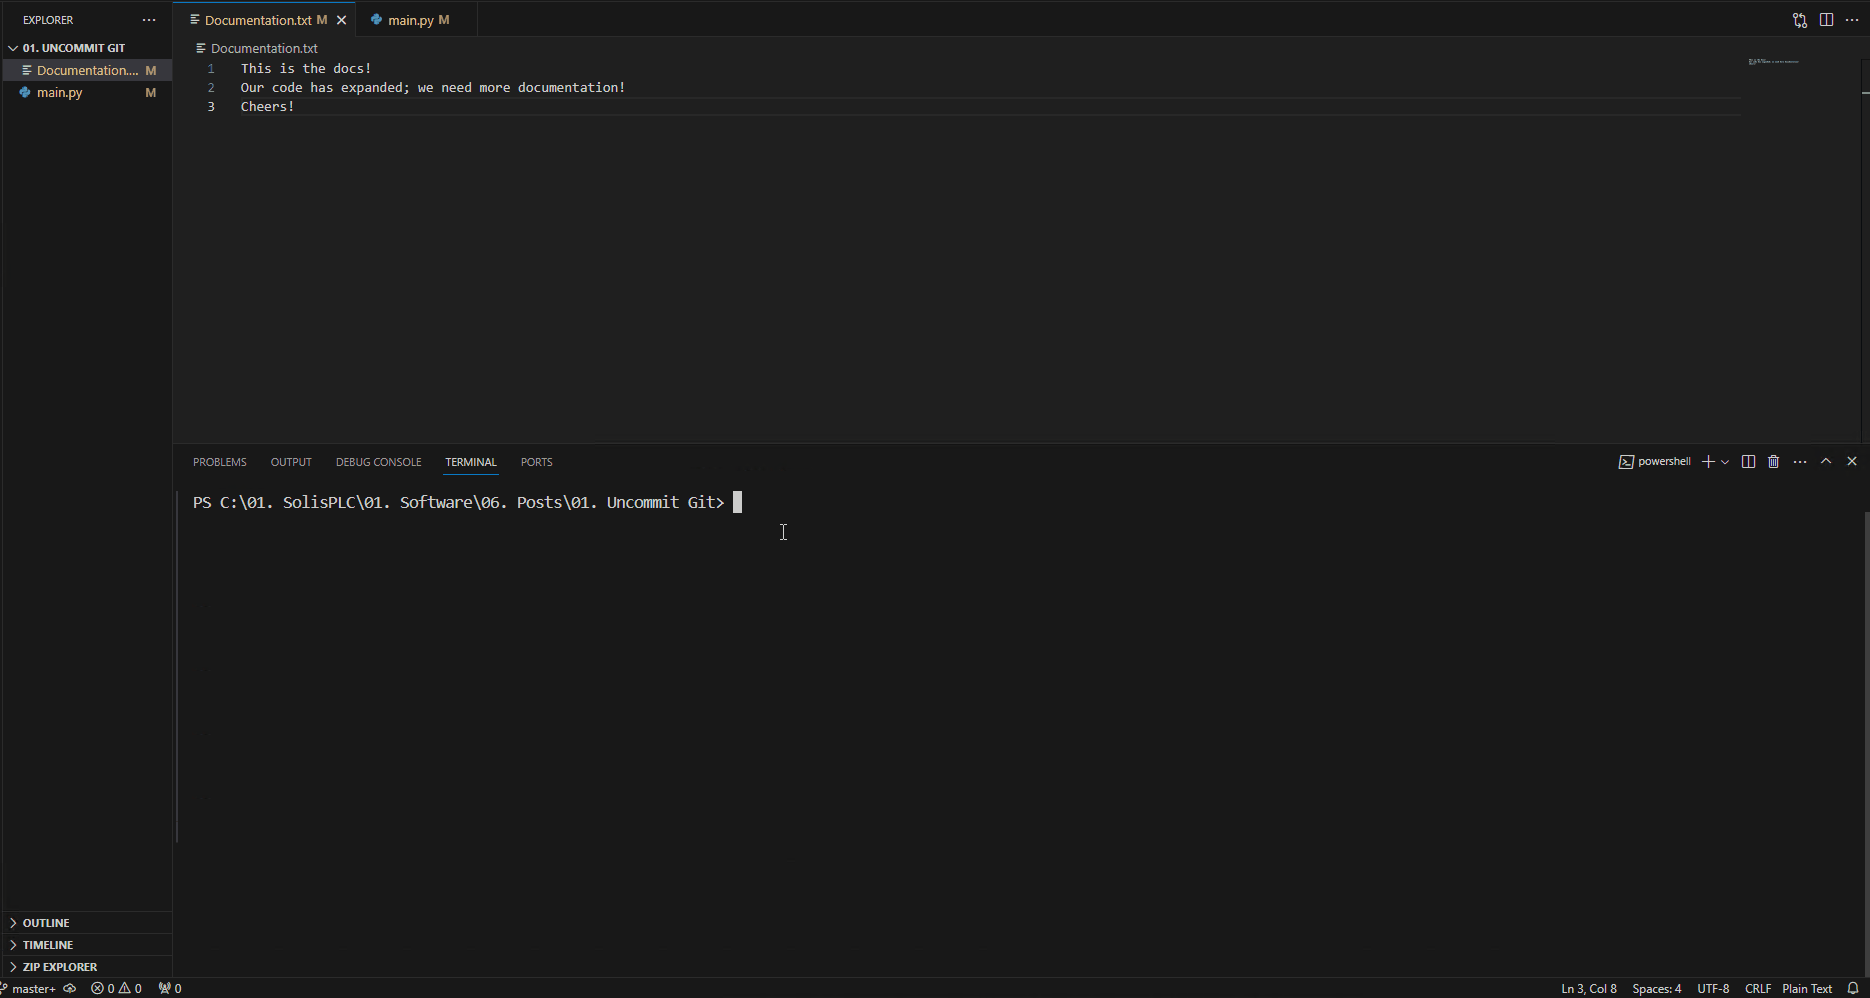
Step 3 - Write code & save changes
The normal process at this point is to write code as you normally would. You may make a mistake and want to discard these changes at this stage. Save the changes you’ve made to the files.
Step 4 - Add files to the commit
As we did in “Step 1” above, you’re ready to add the files to a new commit. Issue the same command as we did above:
Ensure that you’ve added all the files to the commit!
Step 5 - Commit your changes
You're ready to commit as we did in “Step 2” above. Issue the same command as we did before:
Step 6 - Uncommit in Git
At this point, we’ve got a commit we want to get rid of! As mentioned in the introduction for this method, you’ll be getting rid of all changes you made by using this command. If that’s what you’re looking for, issue the following command:
Notice that the two files will immediately lose what we added to them after the first commit. As expected, the changes that have been committed in the second commit will return to the file's initial state.
Uncommit in Git - Undo the Commit, but Keep All the Changes and Staging As Is
You may want to keep working on the changes you’ve made and thus uncommit in Git without removing all the changes you’ve made to the local files. This is a possibility if you issue the following command instead of what we’ve covered above:
Uncommit in Git Walkthrough #2
As we’ve done above, take a look at the sequence of events below. Our goal is to showcase how the command operates and the repercussions / states you’ll have to deal with as you issue it in your scenario.

Step 1 - Make changes to the files
Assuming you have a parent commit you’ll reset to, as discussed in the section above, we’ll proceed with making changes to our files.
At this point, you’re working on your software implementation as you normally would. Once you’ve made the desired changes, save the files before proceeding to the next step.
Step 2 - Add files to the commit
You’ve finalized the changes; add the files to a commit by issuing the following command:
Step 3 - Make the commit
At this point, you’re ready to commit the staged files. Issue the following command to make the commit:
Note that you’ll get a confirmation message stating that your commit has been successfully processed.
Step 4 - Uncommit in Git
At this point, we’ve got a commit we want to eliminate! As mentioned in the introduction for this method, you’ll keep all the changes you made by using this command. If that’s what you’re looking for, issue the following command:
Notice that the two files will immediately be marked in VSCode. This indicates that they have changes that are not tracked in Git and we’ve thus been successful in resetting the commit we made earlier in Step 3!
Uncommit in Git - Undo the Commit, but Keep All the Changes As Is
The nuance is small in this method, but you’ll essentially remove the staged files from the commit, unlike the command above. Here’s the command you’ll issue to make that happen:
Uncommit in Git Walkthrough #3
This process should be familiar to you as we’re only changing a small part of the previous commands we’ve covered. Here’s a walkthrough of the process.
Step 1 - Make changes to the files
Let’s add a few changes to all files once again!
Step 2 - Add files to the commit
Once you’ve finalized the changes, add the files to a commit by issuing the following command:
Step 3 - Make the commit
You’ve got the files and are ready to push your code to the right branch; issue the command to send the commit.
Note that you’ll get a confirmation message stating that your commit has been successfully processed.
Step 4 - Uncommit in Git
At this point, we’ve got a commit we want to eliminate! As mentioned in the introduction for this method, you’ll keep all the changes you made by using this command. If that’s what you’re looking for, issue the following command:
Notice that you’ll receive the notification that both files have been unstaged from the commit we’ve created.
Uncommit in Git - Push a “Counter Commit” that Removes All Changes You’ve Previously Made
There’s an entirely different approach to this problem altogether - once you’ve committed your code, you can issue a commit that brings the files back to their original state before the commit you’ve just made. Obviously, it can be achieved by simply re-modifying the files, but there are a few commands you can use to do so automatically without having to remember what you’ve changed. The command in question is as follows:
Note that we can add the “--no-edit” modifier to the command above to avoid modifying the files via the terminal and immediately commit.
It’s important to note that this command will create a new commit; it won’t necessarily remove what was previously done, and the logs will tell the same story. In other words, this method will leave a trace of the previous commit you made. That being said, in many scenarios, it’s good practice to keep track of the changes that weren’t committed in the end - you may want to reference these changes at a later time.
Let’s take a look at the steps and review what goes into using this method.

Step 1 - Make changes to the files
You know the routine - make the changes that you need to your files and don’t forget to hit save.
Step 2 - Add files to the commit
Once you’ve finalized the changes, it’s time to add all the affected files to the commit.
Step 3 - Add files to the commit
Once you’ve finalized the changes, it’s time to make the commit.
As always, you’ll get a notification when you press the Enter key that the changes have been submitted.
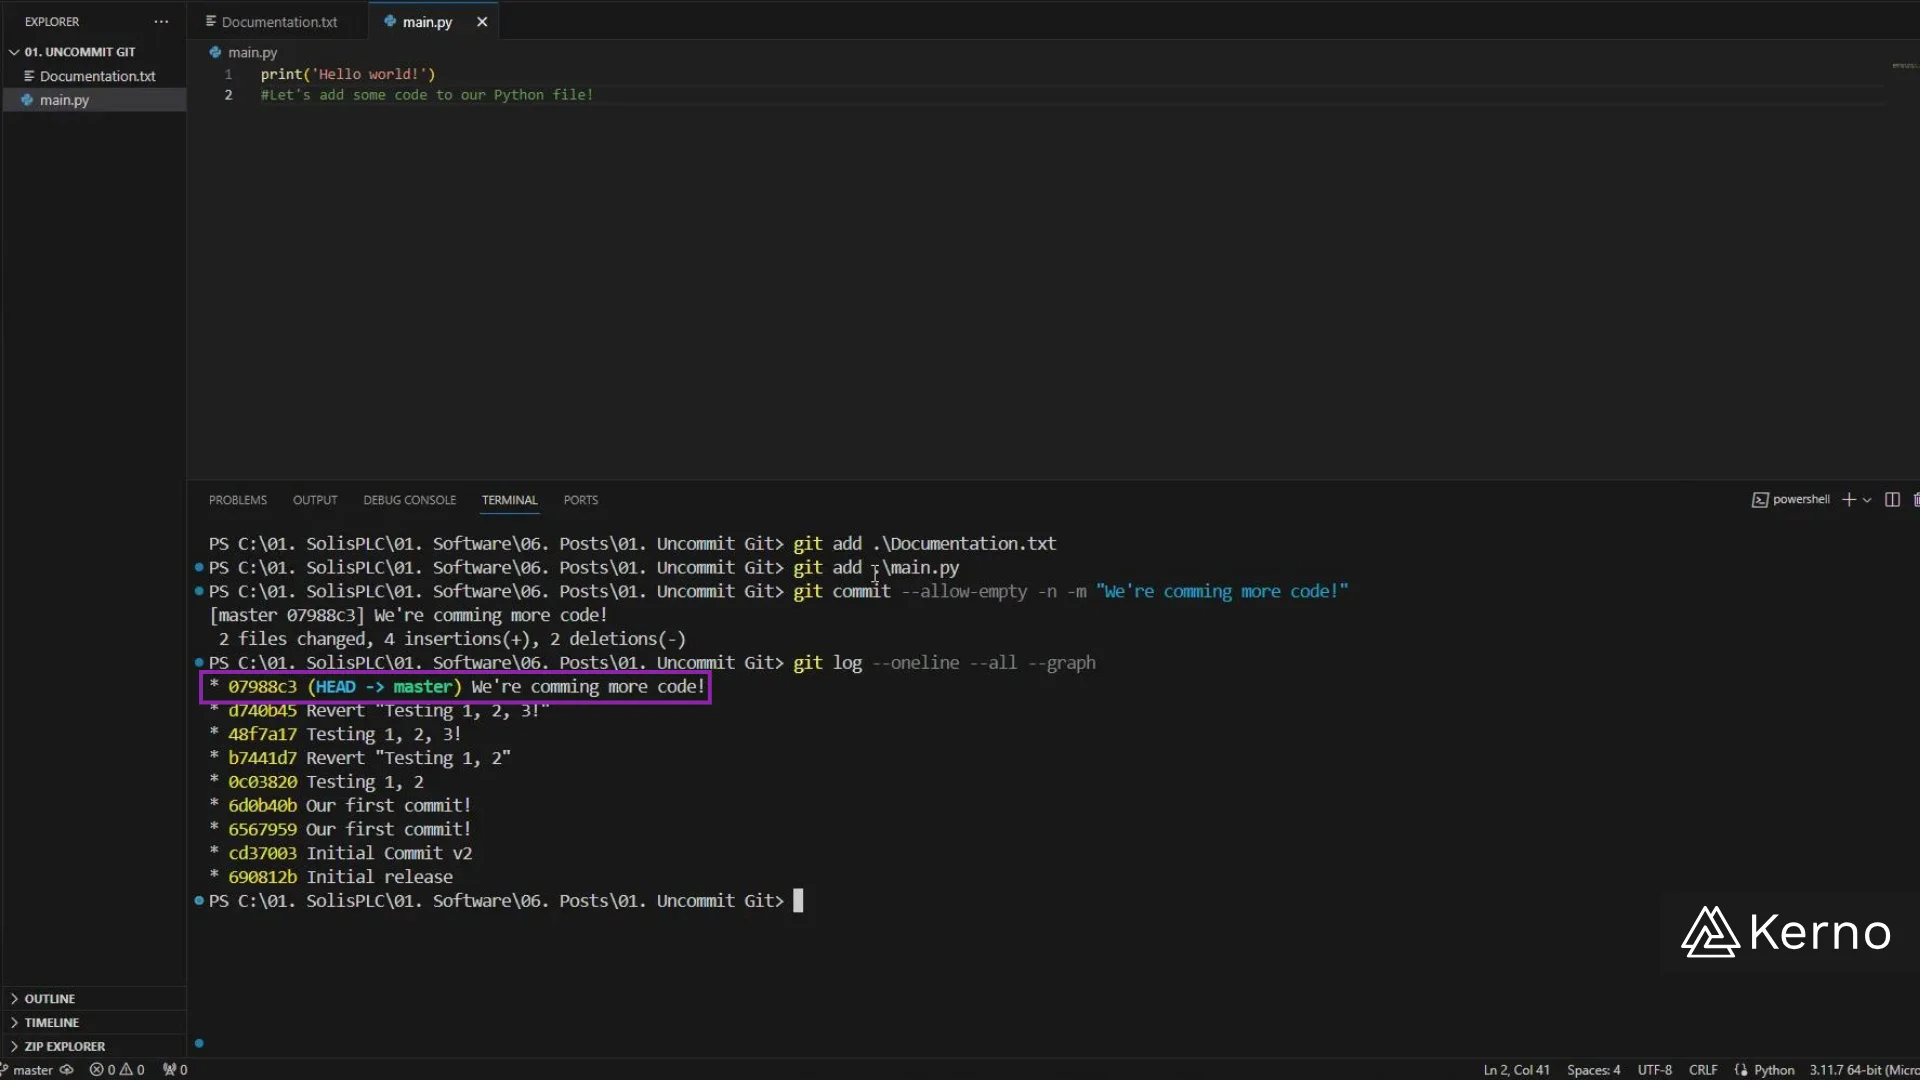
Step 4 - Check the Logs to find the Commit ID
As mentioned earlier, you’ll need to know the commit ID to execute the command we’ll show you in the next step. The history of commits for the current branch can be obtained by issuing the following Git command:
Notice that this command will return a number of commit IDs and you’ll need to ensure that you write down, or copy, the one that’s relevant to the commit you’re looking to uncommit in git. In the example below, we’re looking at the commit ID value of 07988c3
Step 5 - Uncommit the Specific Commit in Git
At this point, we’re ready to reverse the changes we made in the specific commit. Issue the following command to make that happen:
Once you execute the command, you’ll receive a confirmation message stating the changes to the files you’ve committed. If you’d like to get a detailed confirmation of the exact commit that has been reversed, you can once again issue the log command that will list your commit with the keyword “revert” if everything was done correctly:
Uncommit in Git - Reverse the Changes Made In Multiple Commits
We’ve reviewed and used the “git reset --hard HEAD~1” command in multiple instances described above. You may have noticed that the suffix after the HEAD keyword has always been set to 1. This index indicates the number of commits you’d like to go back on. In other words, since we’re looking to uncommit, in most cases this action should only address the latest commit. However, if you’ve made multiple commits that need to be reversed, you may choose to change this index to a number that’s greater than 1. In this case, you’ll be brough back to a commit that is “N” position from the current one. Here’s the command:
As one would expect, the number_of_commits above must be an integer. Once the command is issued, your code will be changed to what it was at a specific commit, with the changes from the following commits unstaged.
Using Git Commands to Uncommit
We want to give you a final warning when working with commands using Git. A number of commands we’ve covered in this tutorials may and will remove some of your work permanently. Understand what you’re trying to do, how the commands impact your files / code, and test them in a non-production environment before proceeding.
Conclusion on Uncommiting in Git
We’ve shown you five ways on how you can uncommit code you’ve pushed to a commit in Git. You’ve got options as to how the files are handled, how files remain staged, which changes are saved, etc. In other words, you have options to go back on your mistakes!