
One of the best ways to learn Kubernetes is through a practical implementation. In this tutorial, we’re going to walk you through the deployment of several microservices onto a cluster. The microservices in question are representative of a simple application that processes data for a logistics company. The application itself isn’t as critical as the infrastructure we’re going to run it on.
Step 1 - Deploying a Queue Microservice
The queue will process incoming messages and forward them to the appropriate Kubernetes services. Naturally, we’d like to start our journey into the microservices architecture by deploying a queue service onto our cluster.
If you’ve followed some of our previous tutorials, it might be a good idea to clean up your cluster. To do so, you can use the commands we’ve previously covered starting with “kubectl get all” followed by the deletion of appropriate resources. As always, keep in mind that you’ll need to delete the correct “top-level” services as deleting pods managed by deployments or replicasets will simply re-instantiate them.
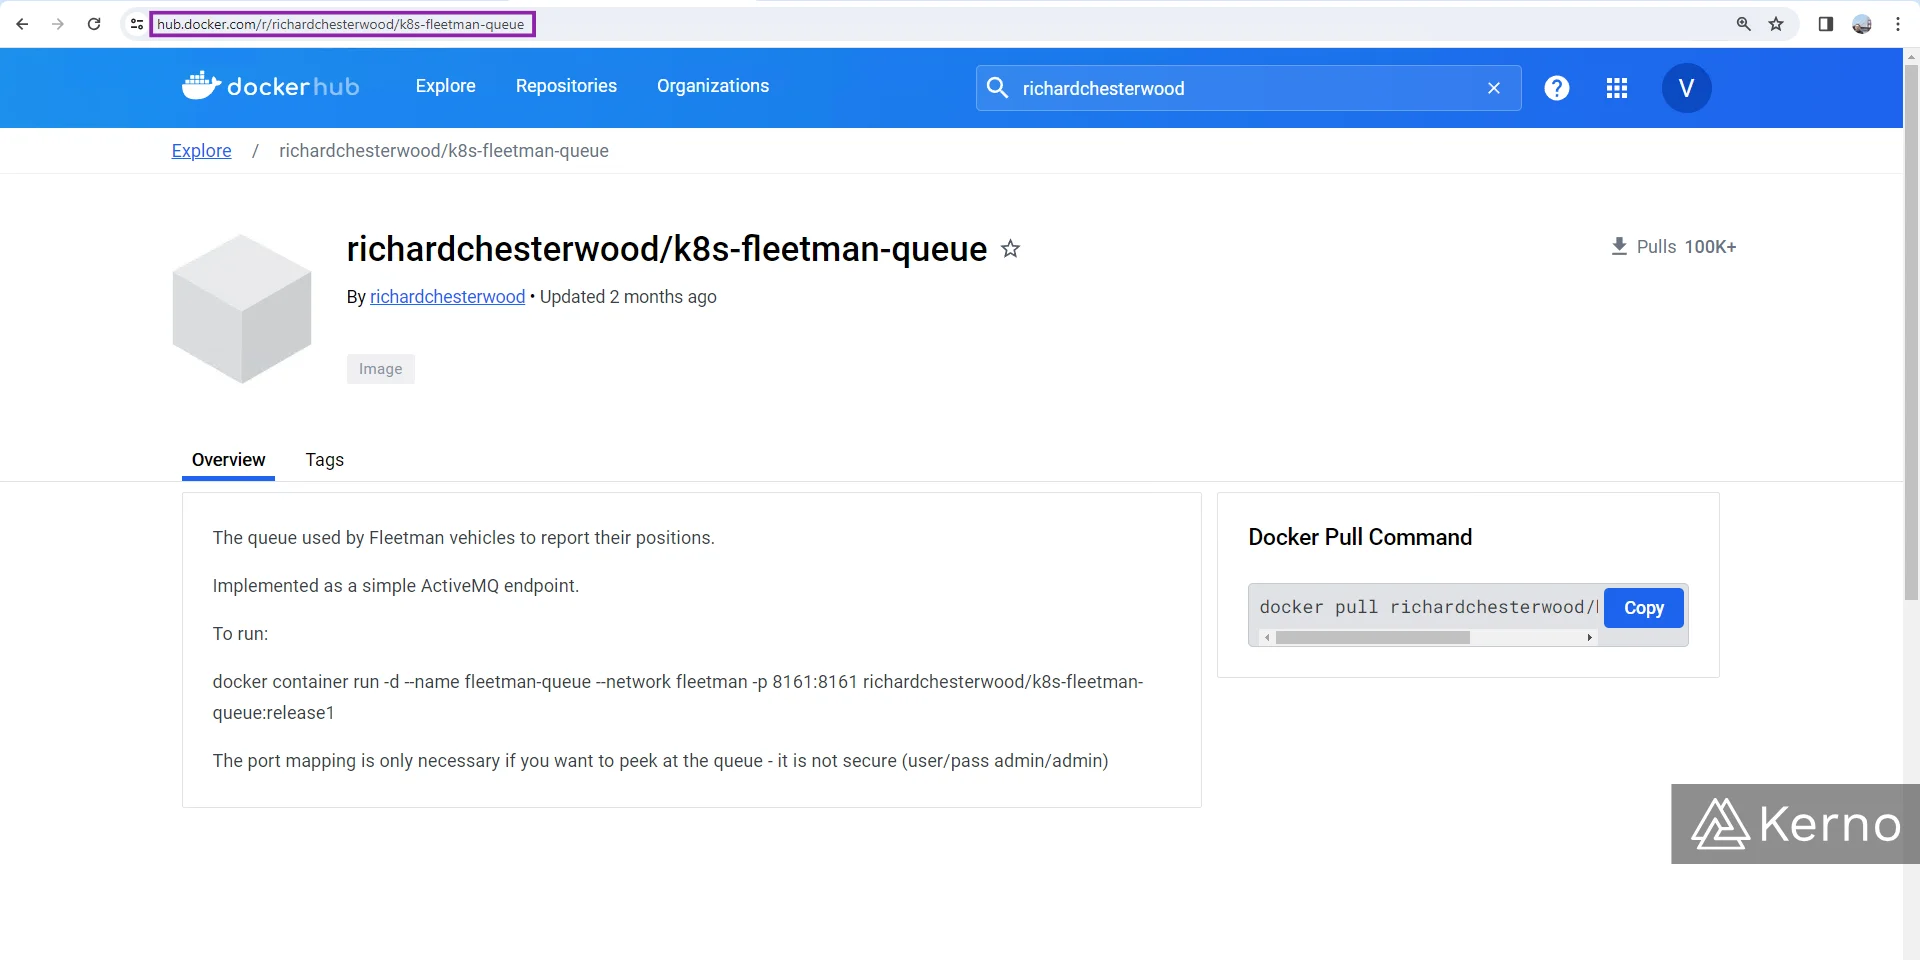
We’ll be pulling the queue service from the same DockerHub library as we did in the past.
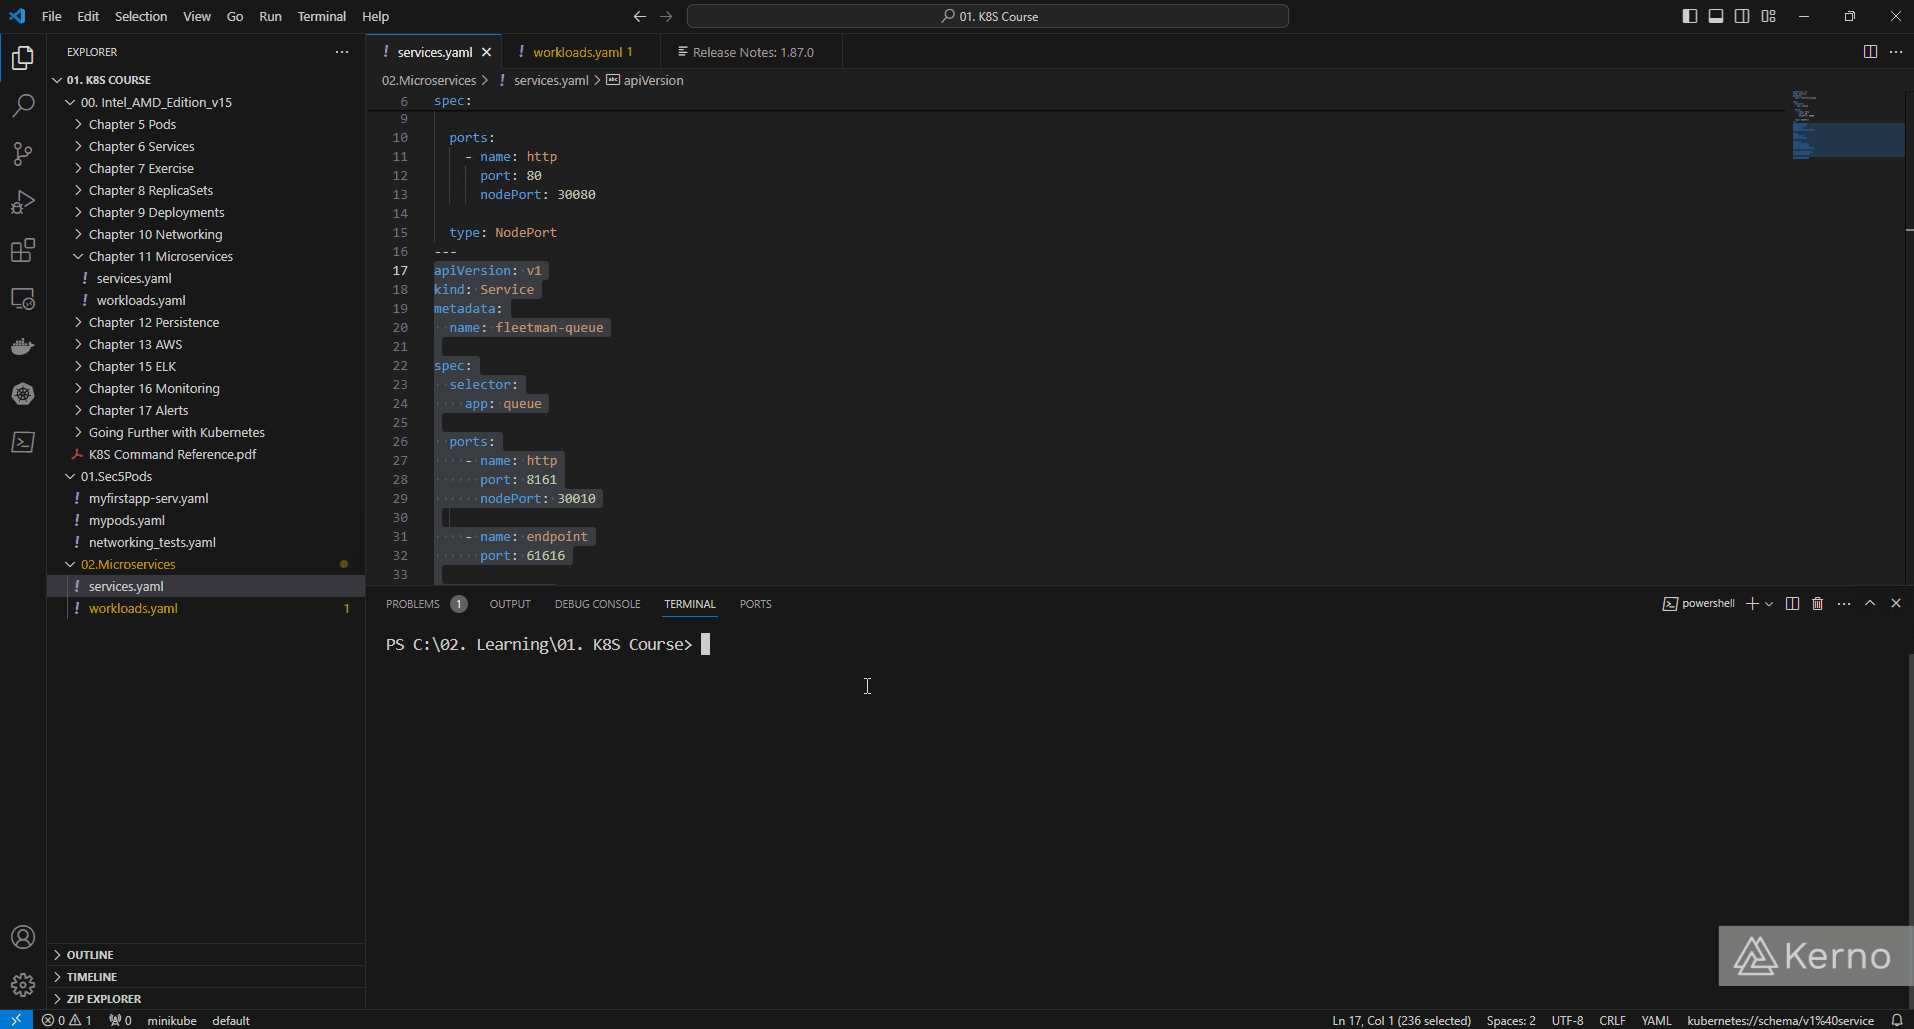
The deployment of this service is going to follow the same structure as we had used in the previous tutorial. Here’s what our worklods.yaml file should incorporate to add the queue microservice:
You’ll notice a few things:
- The “kind” field has been set to a Deployment, but can be a ReplicaSet as well.
- The “replicas” key-value pair has been set to 1. We can certainly deploy more replicas of the queue, but generally speaking we want a single source of truth for the data that is passing through our application. In complex environments; you’re likely to encounter different queue deployments handling various data.
- The “image” key-value pair has been set to “release1.” You may find different releases of the service on the DockerHub page we referenced earlier; we haven’t tested the deployment with all of them, but they may work.
As you’d expect, we need to create a service that will be responsible for connecting to the queue service. In addition to establishing a path for the microservices to connect, we need to be able to configure the queue. We can create an endpoint that will expose it to the public. It’s important to note that you won’t see this in production and the right way would be connecting via a hosted service that is secure. For demonstration purposes, this is perfectly acceptable. Here’s the service we will deploy:
In the code above, you’ll notice a few things
At this point, we can deploy both files with the commands listed below:
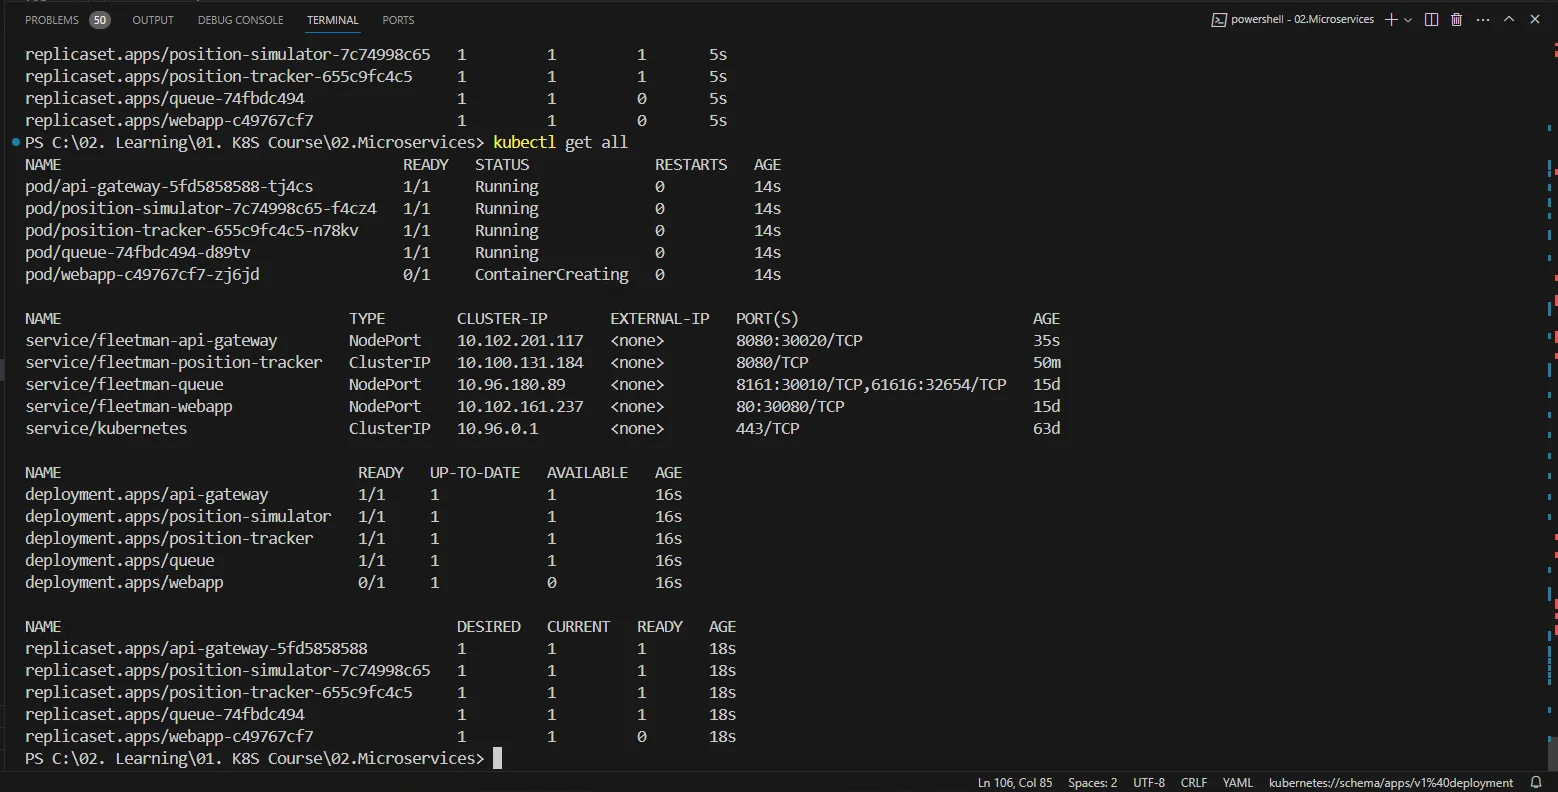
You should see the following items when you run the “kubectl get all” command:

How can we access the queue?
We’ve covered this in a previous tutorial. You can find the IP address of the minikube service running on your machine by issuing the “minikube ip” command. If you’re a Windows user, you’ll need to issue the following command:
Here’s the result and the page you should see if everything was executed correctly:
If you click on “Manage ActiveMQ broker” link on that page, you’ll be prompted to login using the username/password - use admin/admin to log into your instance.
Step 2 - Deploying the Position Simulator
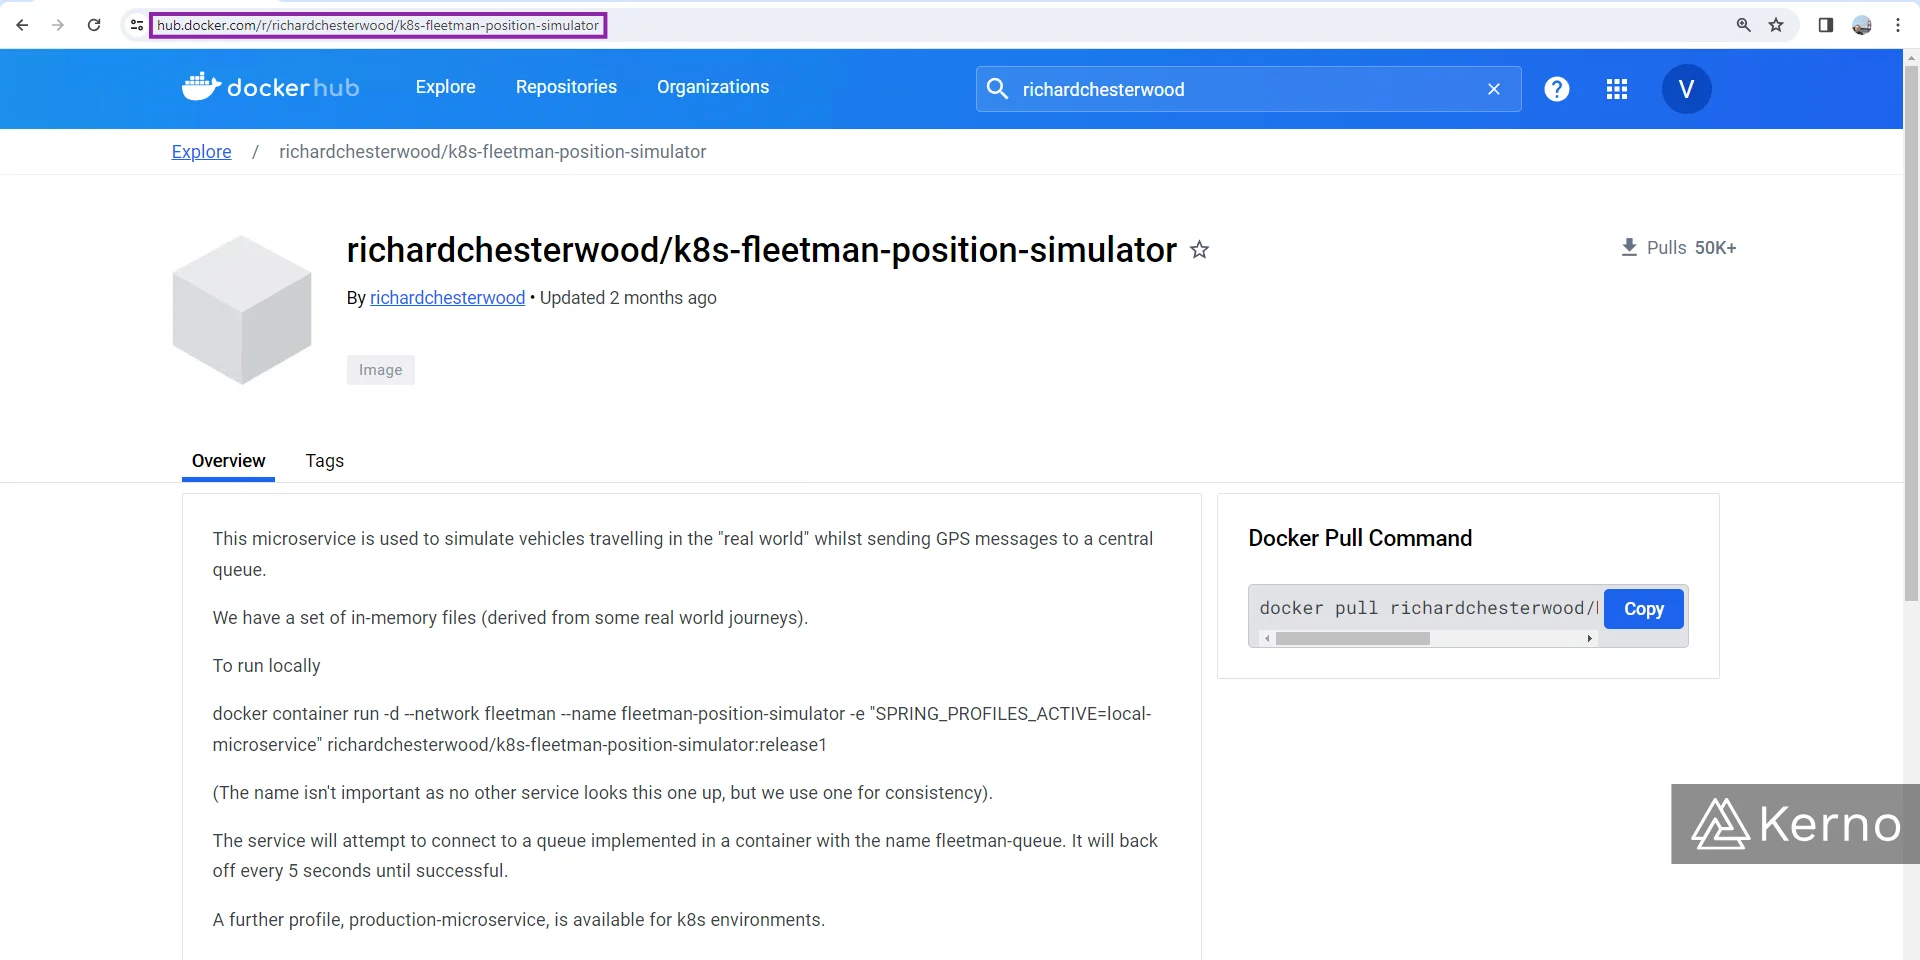
We’ve deployed our queue; it’s time to deploy the position simulator. You’ll find the image for this service under the same repository on DockerHub as the queue. Here’s the exact URL:
This image doesn’t need to connect to any other service. It’s going to spit out data we will be using in some of the other services.
The deployment is going to follow the same pattern as the one for the queue; we can simply add a separator “---” to our file and copy / paste the same code before making any changes. Here’s the final code for the position simulator deployment:
You’ll notice that besides changing the name of the service, we’ve also added a set of key-value pairs under the “env” variable. Environment variables are used to configure certain parameters of the underlying application. In other words, as the DevOps engineer, you can pass certain configuration parameters to the application that will be running within the pod. This is commonly used in applications that expose certain configuration parameters required at startup. It’s important to note that these variables will be set as the container is started. The only way to change them would be to re-deploy the pod.
At this point, you can deploy the changes we made to the file using the following command:
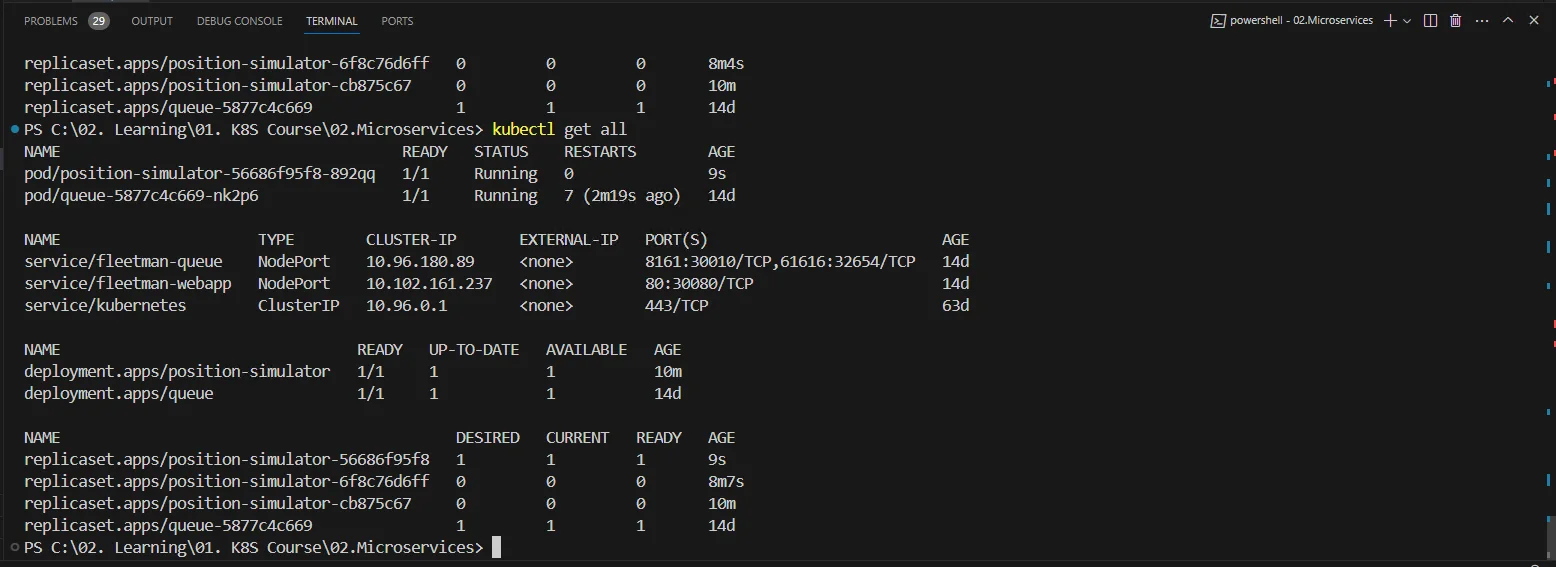
Here’s what my response to “kubectl get all” looks like at this point.
If you’ve done everything correctly, you should be able to navigate to the “Queues” section of the ActiveMQ application we covered above and see that there’s now a PositionQueue listing under the Queues section as shown below
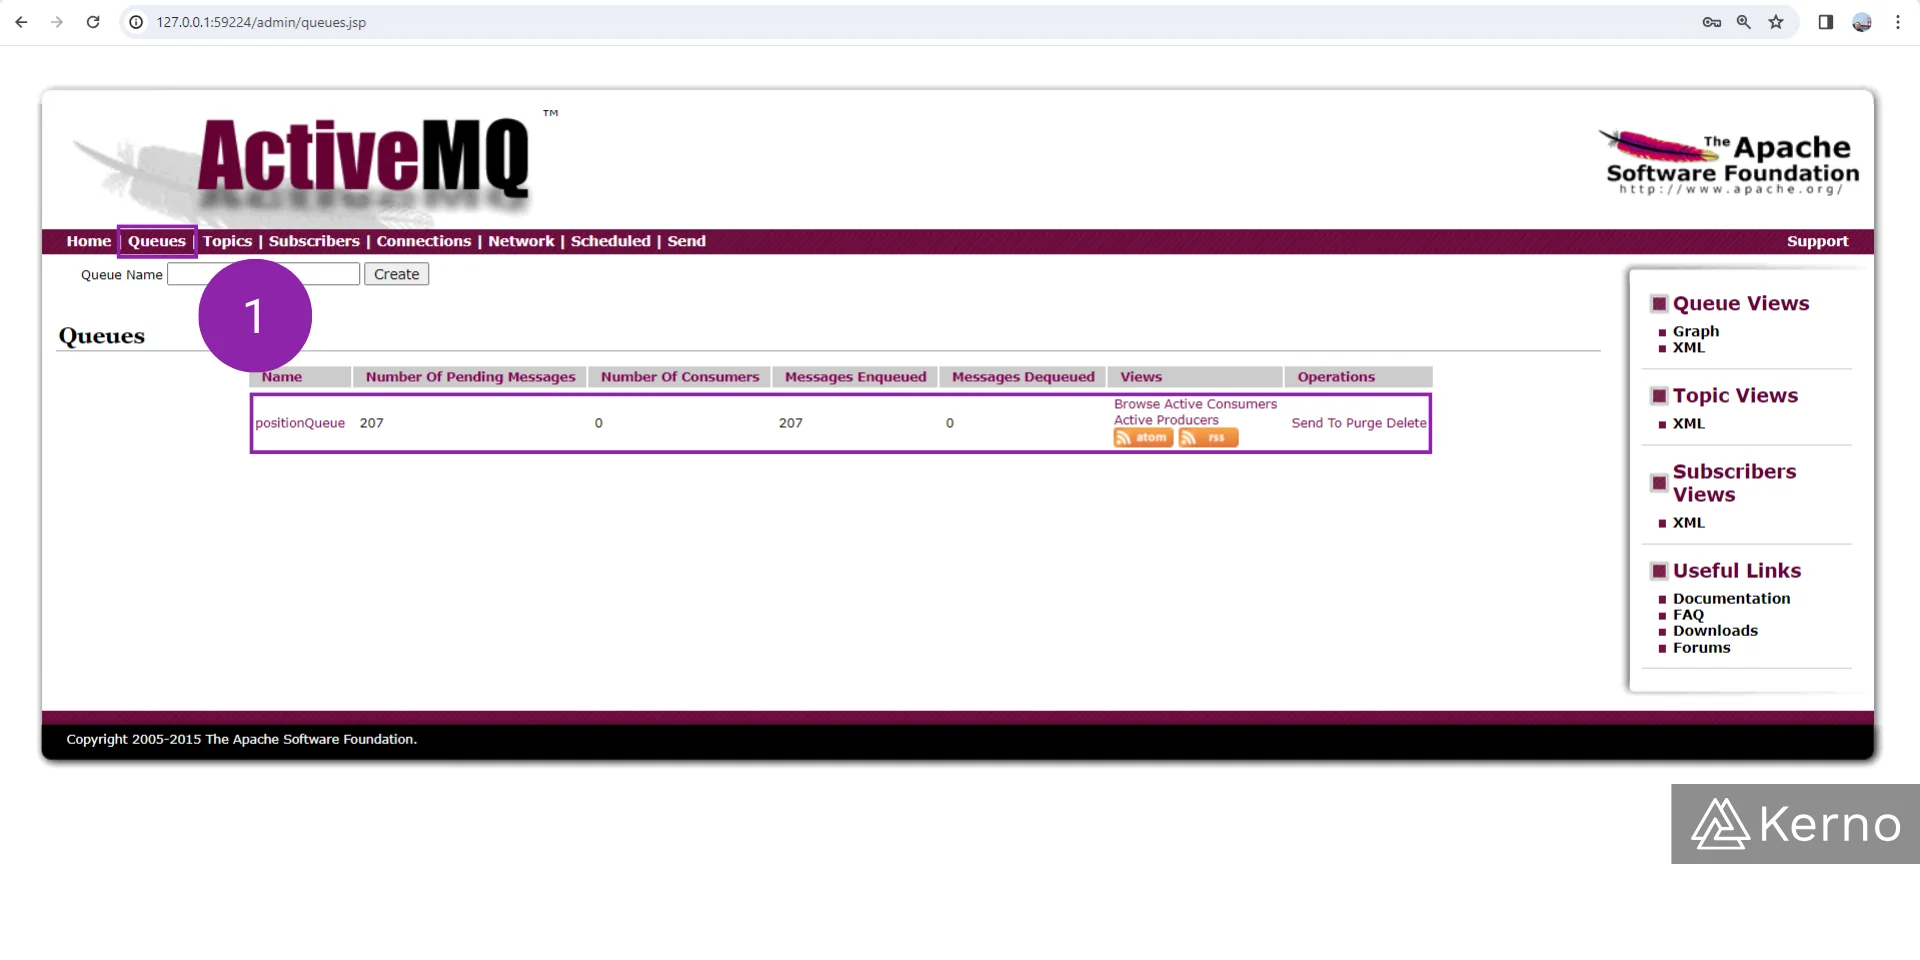
Notice that you should see a number of messages under the “Number of Pending Messages” column. If you refresh the page, you should see that number increasing.
Step 3 - Deploying the Position Tracker
At this point, we’ve learned what it takes to deploy an application to kubernetes. We can repeat the steps with slight modifications to deploy the next piece of our microservices architecture.
Once again, we deploy the modified yaml file onto the cluster and give it some time to download the image and to spin up the pods that run the application.
If everything is working as expected, you should be able to navigate to the queue page and see that the messages are now getting dequeued as shown below.

The application that runs the position tracker will also publish an API in JSON format with data for the message. To access / view the endpoint, we’re going to create another service in K8S. Here’s the YAML file addition to our services file:
Step 4 - Deploying the API Gateway
As discussed above, the service will create an API endpoint for the other services to consume data from. Here’s the addition to the workloads YAML file:
Similarly to what we’ve done before, we’re going to create a service that will expose the API Gateway from the cluster.
Step 5 - Deploying the Web Application / Frontend
At this point, we’ve deployed the services needed to run the application. However, we don’t have a front-end that would present the data to the user. Here’s the addition to the YAML file we need to make at this point:
Obviously, we need to open up the ports to be able to see the application in action. Here’s what we’re adding to the services YAML file:
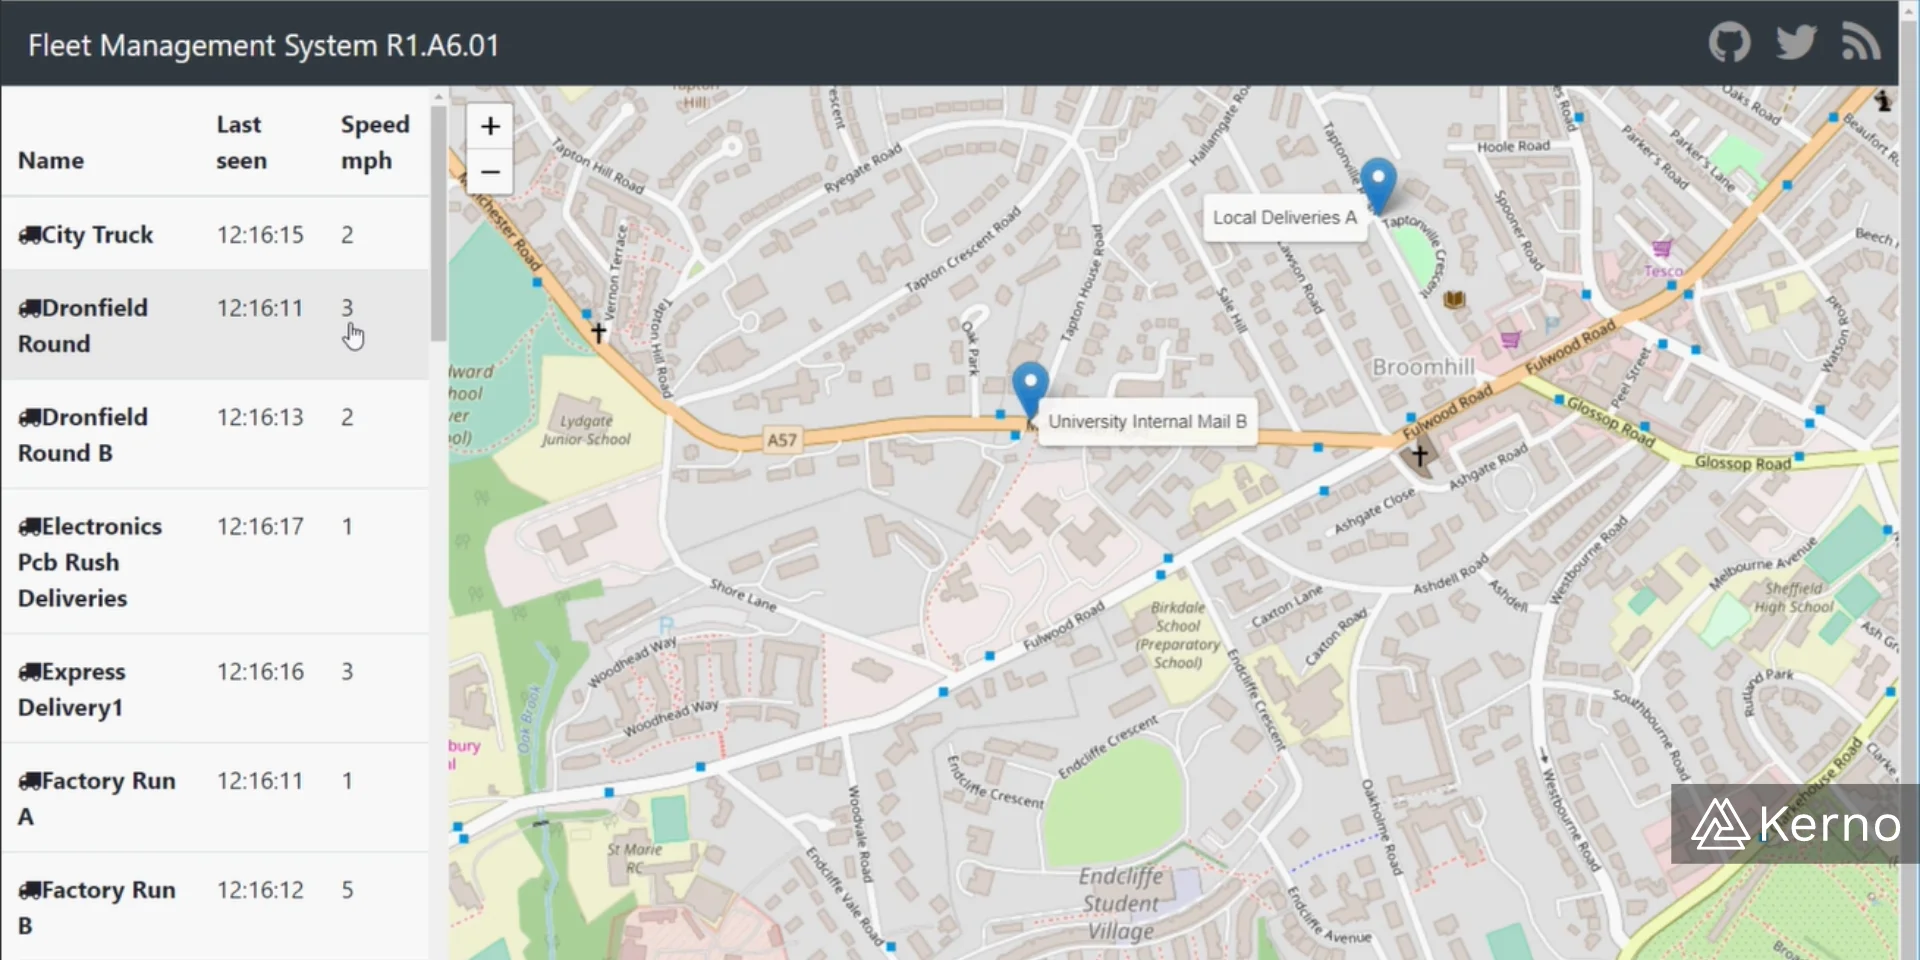
Once you’ve deployed the final component, you should be able to navigate to your browser and see the application in action!
Conclusion on Deploying Microservice Architectures using Kubernetes
In this tutorial, we’ve deployed 5 different services that interact with each other and result in an application that sends out vehicles from point A to point B simulating a logistics company. We’ve deployed a service that handles the queue of messages, a service that handles the position simulation, a service that tracks the position of the vehicles, the service that presents the API, and the service that presents the web UI to the end user. Each one of those services exposes a workload that executes the appropriate application. It's important to note that there are many ways in which you can setup your deployments and CI / CD Pipelines. One of those ways is via GitHub Actions.